
The Art of Perfect Roti: How to Knead Atta Perfectly for Soft Roti
Share
Roti, the heart of Indian cuisine, is more than bread—it’s comfort and tradition. A soft, fluffy roti can transform any meal, and the secret starts with kneading. Here’s how to master it with The Chakki Co.’s fresh flours.
Choosing the Right Flour
Start with quality. The Chakki Co.’s premium flours—like our Chakki Aata—offer unique taste and natural fiber, no preservatives. Experiment to find your favorite.
Measure Accurately
For consistency, use 2 cups flour to 1 cup water. Adjust based on flour type—precision pays off.
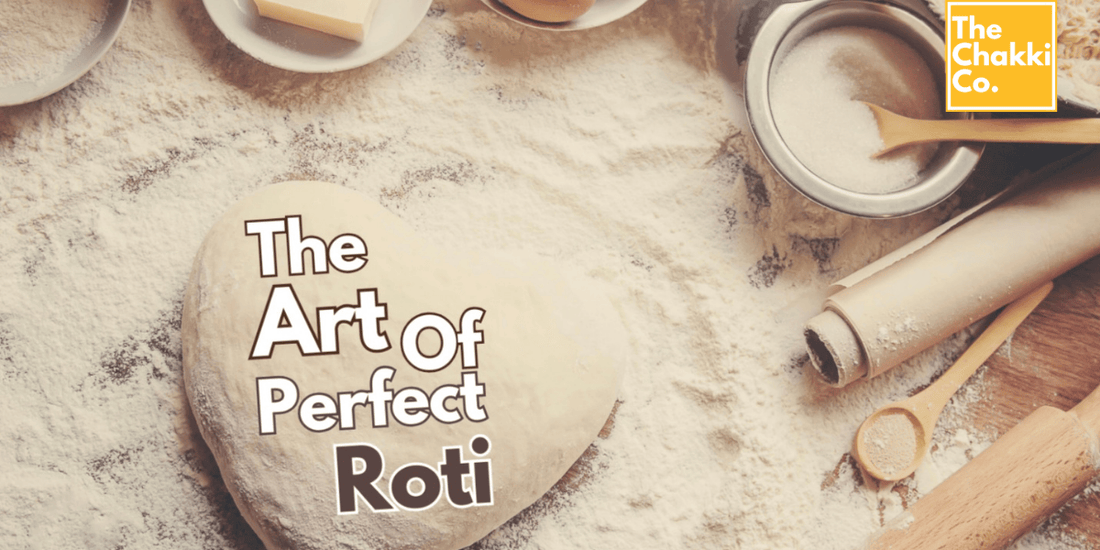
Kneading Process
Add a pinch of salt to your flour for flavor. Slowly mix in water, kneading with your fingers. Fold, press, and turn with gentle but firm pressure for 10-15 minutes until smooth and elastic—not sticky. (See our dough texture below!)
Note: If you are kneading Gluten-free or multigrain flour hot water is the key for soft rotis. the hotel the water softer the rotis( heat the water in the pan and mix the atta like halwa is made you will be surprised)
Resting Period
Let the dough rest 15-20 minutes. This builds gluten, making it easier to roll.
Portioning & Rolling
Divide into equal balls for uniform rotis. Roll gently with a pin—light flour prevents sticking. Keep thickness even, not too hard, or it’ll toughen.
Cooking to Perfection
Heat a tava on medium-high. Too hot, it burns; too low, it won’t puff. Flip when bubbles form, press edges with a cloth to puff evenly.
Keep Them Warm
Wrap cooked rotis in a towel or container to stay soft.
Practice Makes Perfect
It’s an art—don’t sweat early flops. Each try hones your skill.
Master soft rotis with love and tradition. Grab our Chakki Aata at thechakkico.com and start your journey today!
